Object Recognition in 20 lines of code with ImageAI
With the rise and popularity of deep learning algorithms, there has been impressive progress in the field of Artificial Intelligence, especially in Computer Vision.
ImageAI
ImageAI is a python library built to empower developers, reseachers and students to build applications and systems with self-contained Deep Learning and Computer Vision capabilities using simple and few lines of code.
ImageAI provides very convenient and powerful methods to perform object detection on images and extract each object from the image. The object detection class supports RetinaNet, YOLOv3 and TinyYOLOv3.
Downloads
To start performing object Recognition and detection, you must download the RetinaNet, YOLOv3, or TinyYOLOv3 object detection model via the links below:
- RetinaNet (Size = 145 MB, high performance and accuracy, with longer detection time)
- YOLOv3(Size = 237 MB, moderate performance and accuracy, with a moderate detection time)
- TinyYOLOv3 (Size = 34 MB, optimized for speed and moderate performance, with fast detection time)
Place the above Detection Model file in your project folder.
Installing ImageAI and its Dependencies
Before you install ImageAI, you must install the following dependencies.
- Python 3.5.1 or higher
- pip3
- Tensorflow 1.4.0 or higher:
pip3 install --upgrade tensorflow - Numpy 1.13.1 or higher:
pip3 install numpy - SciPy .19.1 or higher:
pip3 install scipy - OpenCV:
pip3 install opencv-python - Pillow:
pip3 install pillow - Matplotlib:
pip3 install matplotlib - h5py:
pip3 install h5py - keras:
pip3 install keras
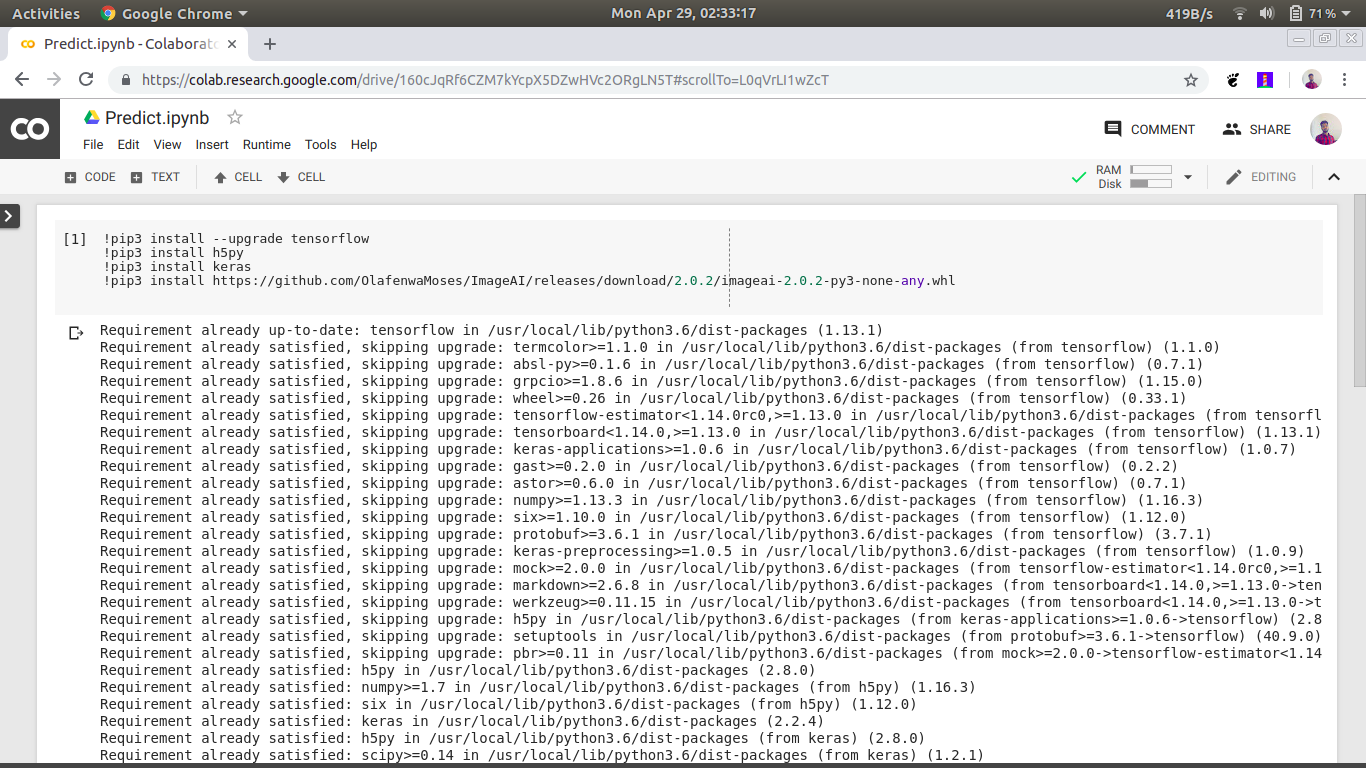
After installing these packages locally, now install ImageAI by running the pip command below.
pip3 install https://github.com/OlafenwaMoses/ImageAI/releases/download/2.0.2/imageai-2.0.2-py3-none-any.whl
We will be using Google Colab for writing our code. See the whole code on GitHub
Adding input
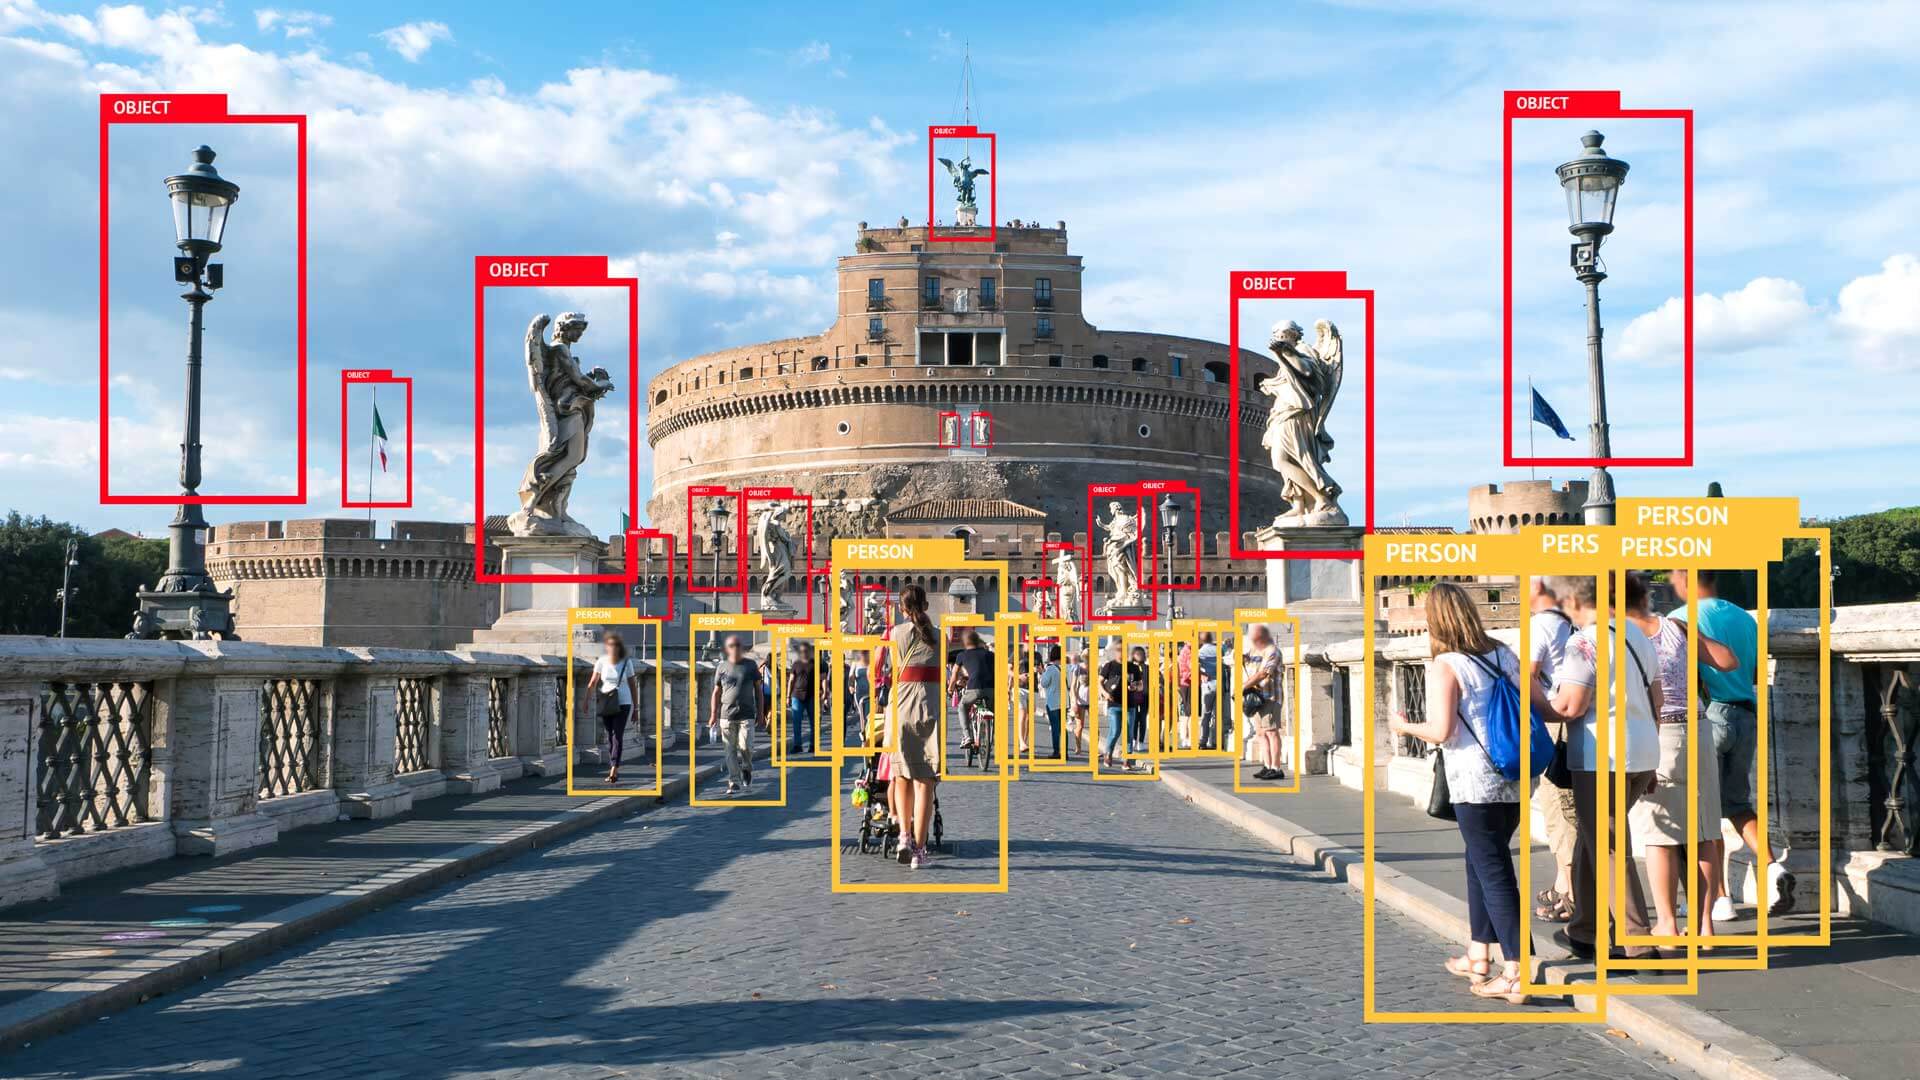
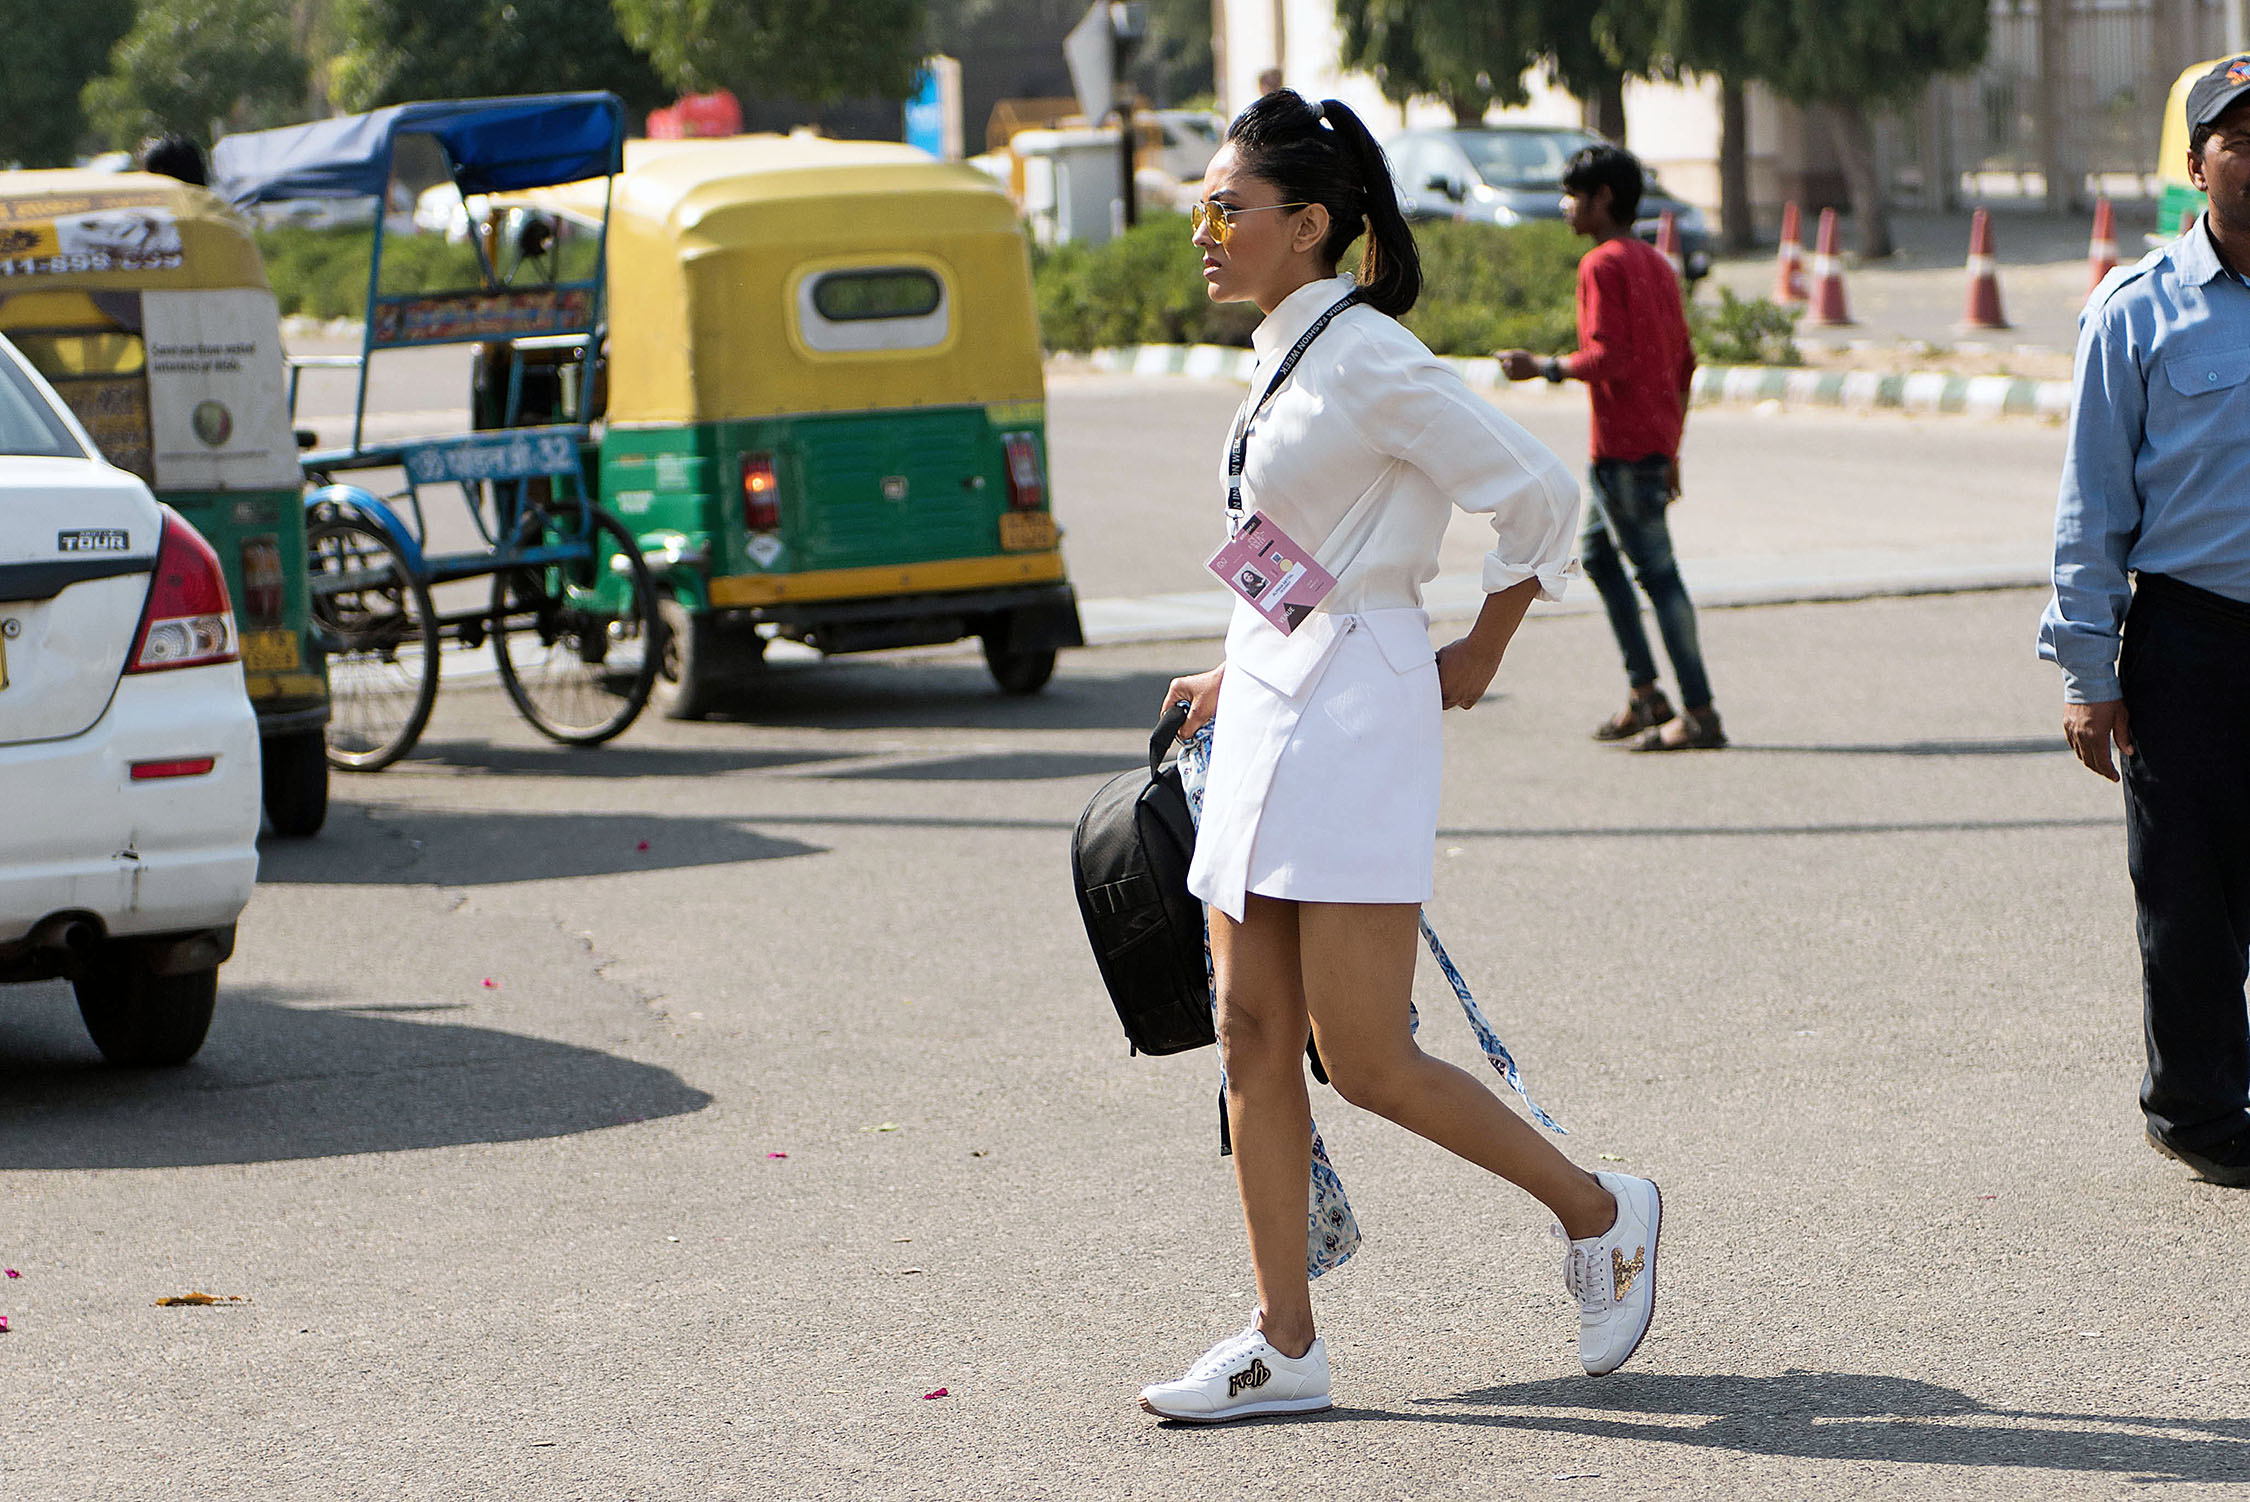
Add an input image “object.jpg” to the main folder. We’ll use the following photo for our demo:
Install dependencies
Create a Python file or Jupyter Notebook (for example, “Predict.ipynb”) and add the code below.
Download Object Detection Model
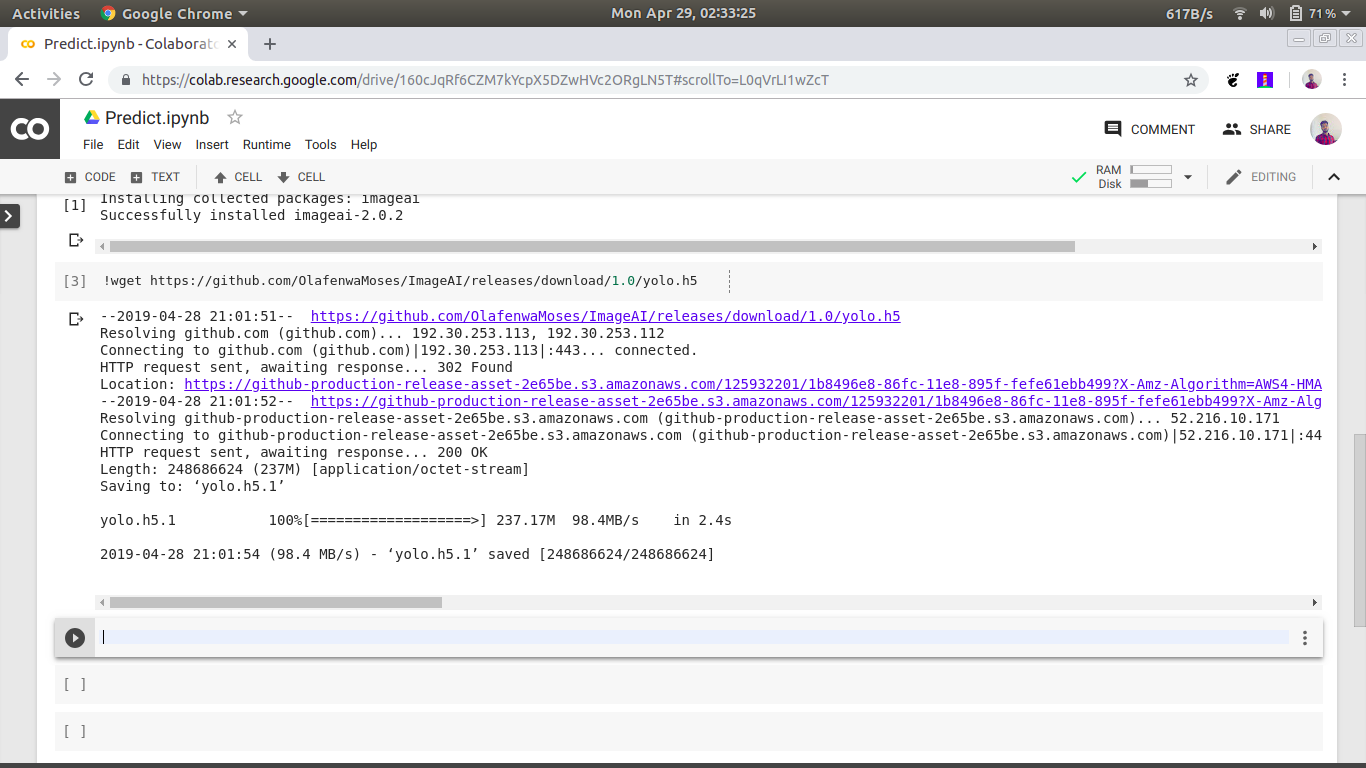
For downloading YOLOv3 as our object detection model, run the below command in the terminal:
wget https://github.com/OlafenwaMoses/ImageAI/releases/download/1.0/yolo.h5
Load Model
from imageai.Prediction import ImagePrediction
import os
The code above imports the ImageAI ImagePrediction class and the Python os module.
execution_path = os.getcwd()
The above line creates a variable which holds the reference to the path that contains your python file (in this example, predict.ipynb) and the YOLOv3 model file.
detector = ObjectDetection()
detector.setModelTypeAsYOLOv3()
detector.setModelPath( os.path.join(execution_path , "yolo.h5"))
detector.loadModel()
In the 4 lines above, we created a new instance of the ObjectDetection class in the first line, set the model type to YOLOv3 in the second line, set the model path to the YOLOv3 model file we downloaded and copied to the python file folder in the third line and load the model in the fourth line.
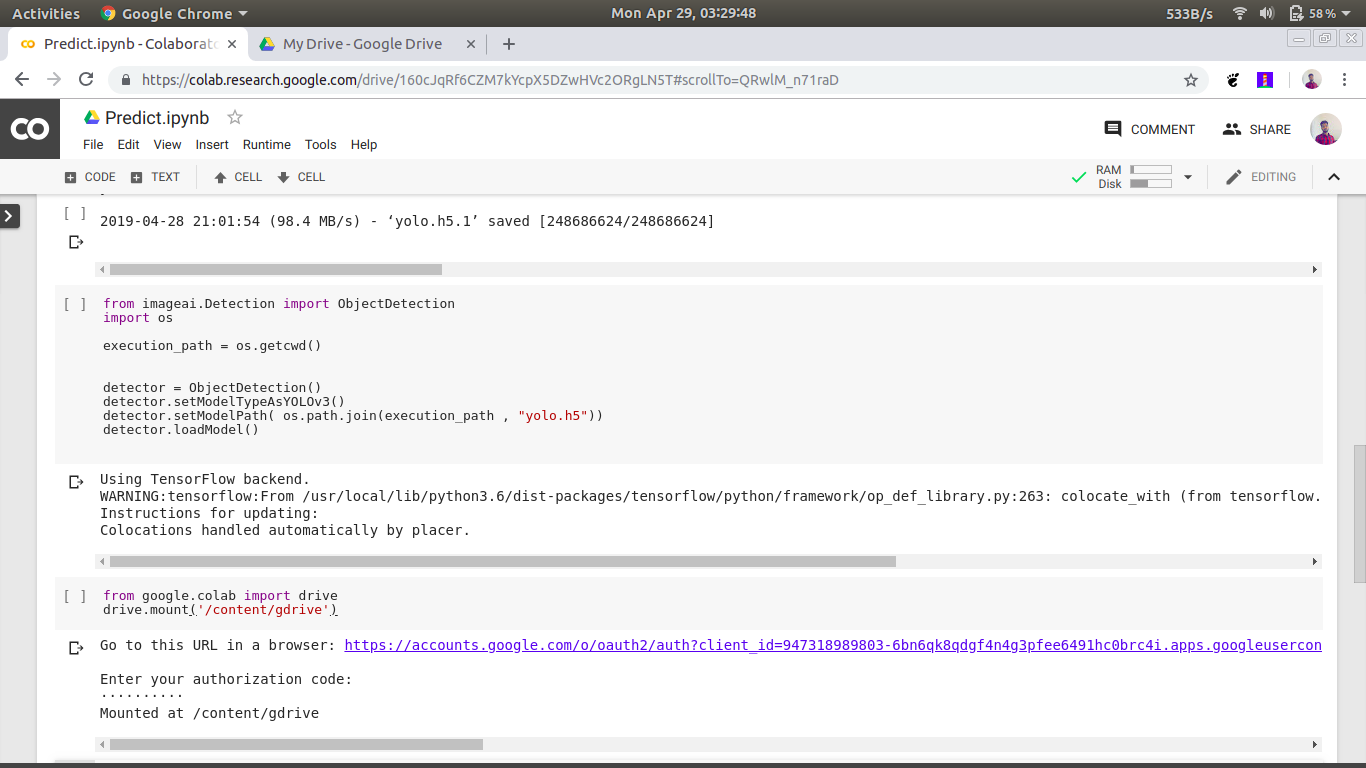
from google.colab import drive
drive.mount('/content/gdrive')
Above code is used to connect Google Drive with Colab for downloading input image objects.jpg to the notebook.
Object Detection
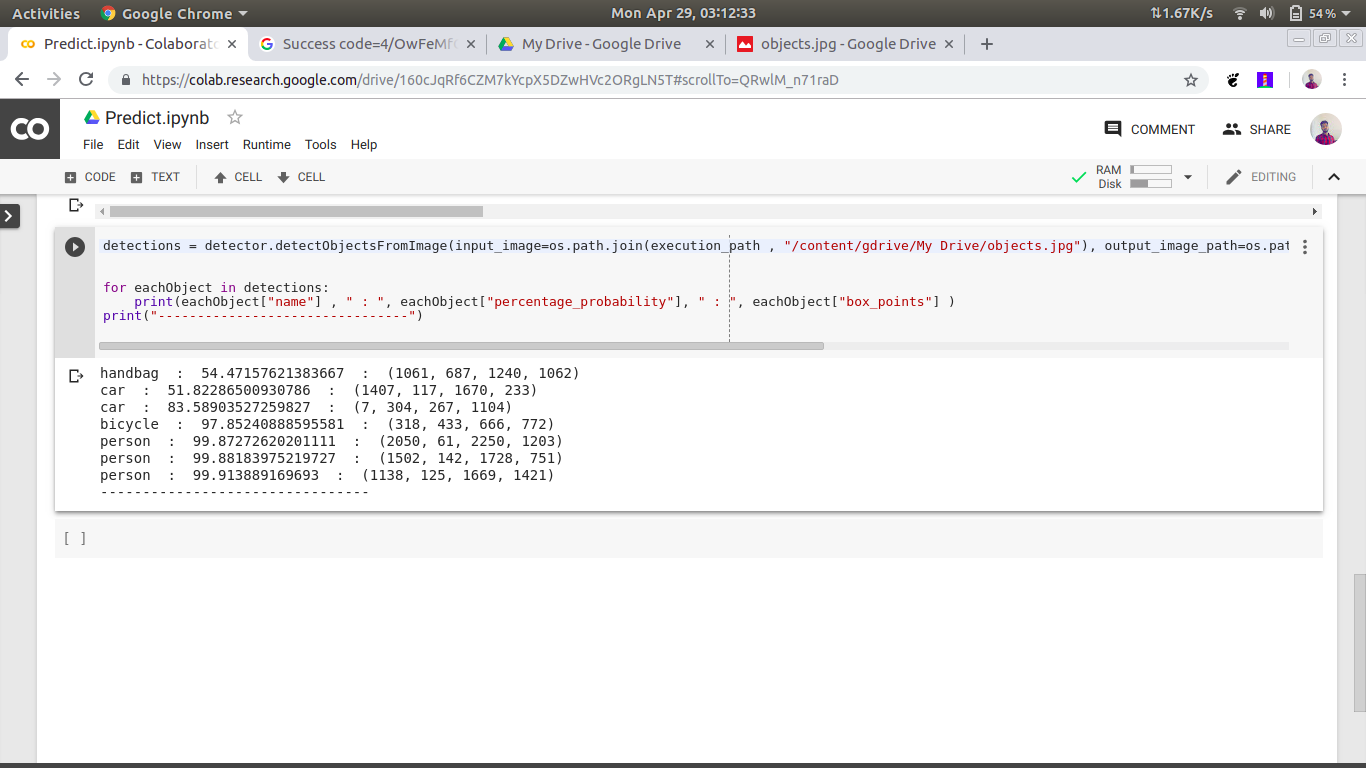
detections = detector.detectObjectsFromImage(
    input_image=os.path.join(execution_path,
        "/content/gdrive/My Drive/objects.jpg"),
    output_image_path=os.path.join(execution_path,
        "/content/gdrive/My Drive/output.jpg"),
        minimum_percentage_probability=30)

for eachObject in detections:
    print(eachObject["name"],
        " : ", eachObject["percentage_probability"],
        " : ", eachObject["box_points"])
print("--------------------------------")
In the above 2 lines, we ran the detectObjectsFromImage() function and parse in the path to our image, and the path to the new image which the function will save. Then the function returns an array of dictionaries with each dictionary corresponding to the number of objects detected in the image. Each dictionary has the properties name (name of the object), percentage_probability (percentage probability of the detection) and box_points (the x1, y1, x2, and y2 coordinates of the bounding box of the object).
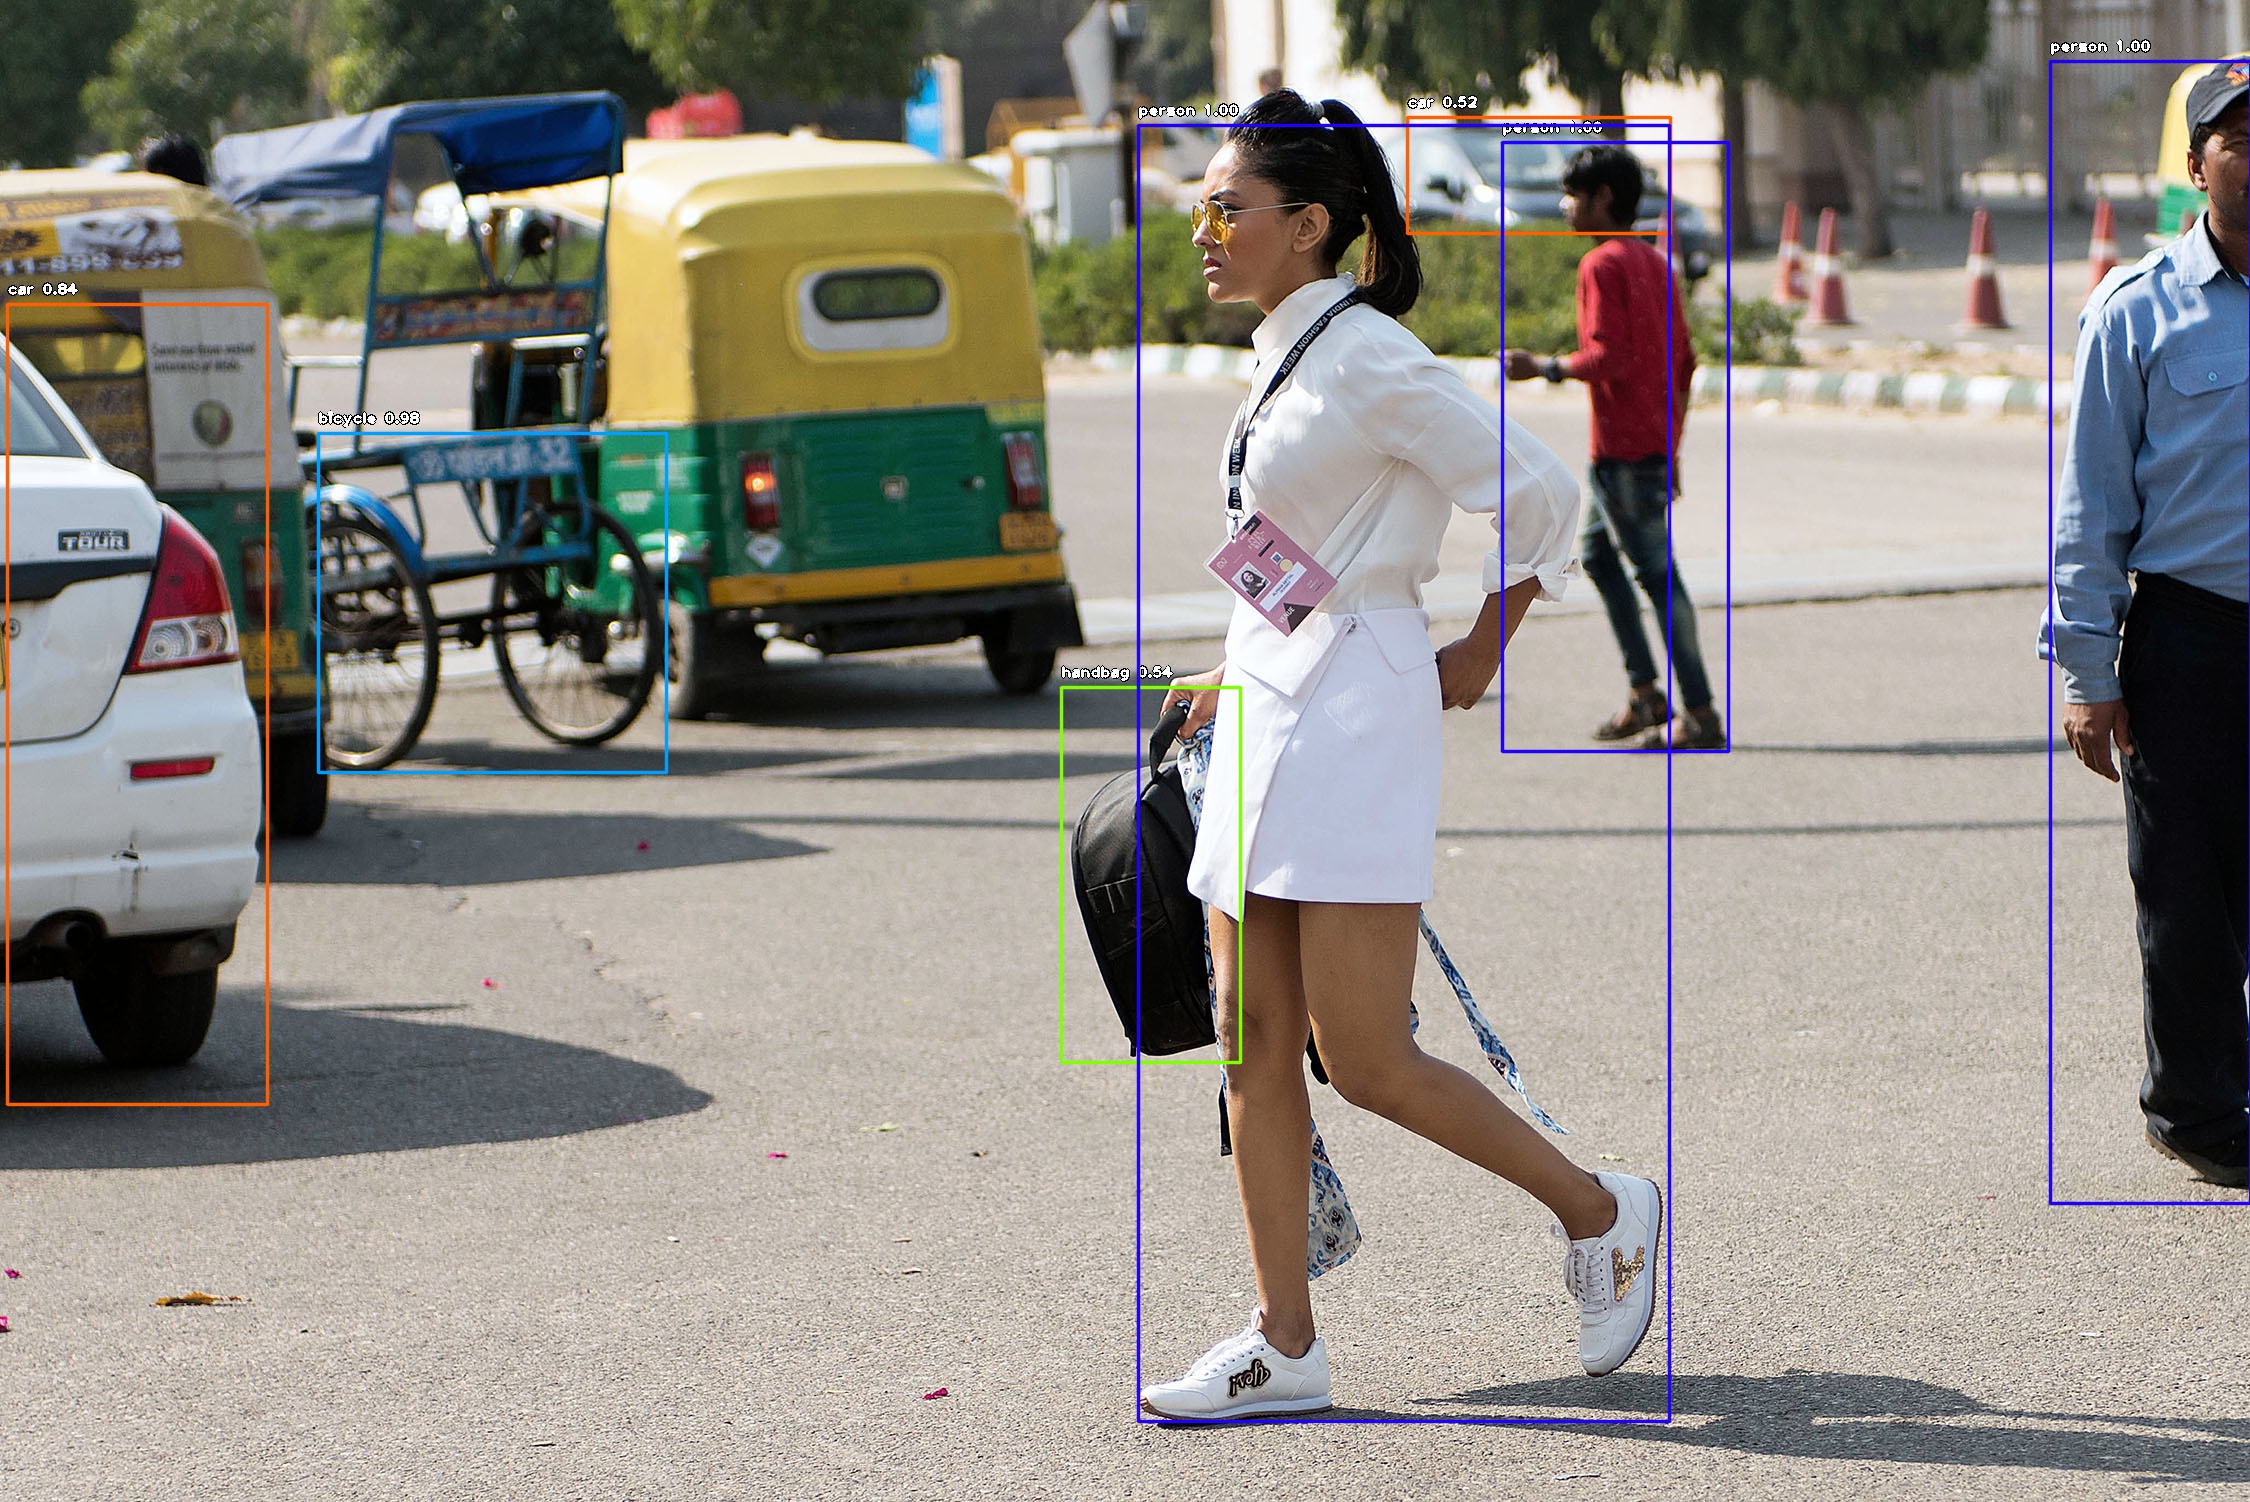
handbag  :  54.47157621383667  :  (1061, 687, 1240, 1062)
car  :  51.82286500930786  :  (1407, 117, 1670, 233)
car  :  83.58903527259827  :  (7, 304, 267, 1104)
bicycle  :  97.85240888595581  :  (318, 433, 666, 772)
person  :  99.87272620201111  :  (2050, 61, 2250, 1203)
person  :  99.88183975219727  :  (1502, 142, 1728, 751)
person  :  99.913889169693  :  (1138, 125, 1669, 1421)
So as the output shows the image consists of 3 persons, 2 cars, 1 bicycle and a handbag.
With ImageAI, you can integrate image prediction code easily and conveniently into any application, website or system you build in Python. There are other algorithms and model types supported in the ImageAI library, with some optimized for speed and others optimized for accuracy.
For more information, see documentation.
